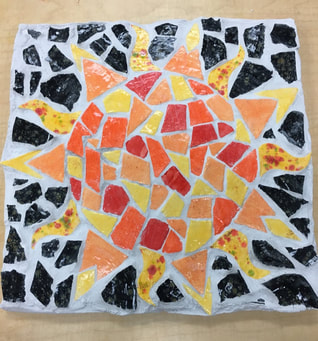
 For my mosaic piece I decided to do a sun because I wanted a way to add different shapes for each individual piece and I also like the contrast with colors. I decided to cut each individual piece of the sun with a slab of clay, so it would fit perfectly. The hardest part of the mosaic was cutting and making each piece for the sun. What I find successful of the piece is that you can really tell it is a sun, and I like how the colors I chose all go together. If I were to do this piece again, I would have chosen for the individual clay pieces to be closer together so the grout, in between, doesn't stand out too much.
0 Comments
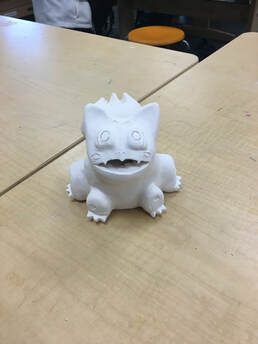
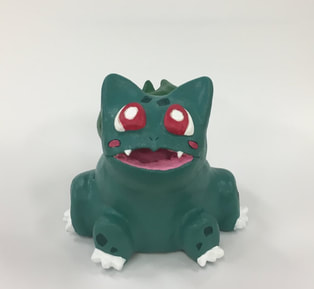
I chose to do my figurative piece with clay and use acrylic paint to paint it. Paper mache is started with creating the paste to use when doing paper mache. You mix water and flour together, and when that is mixed you take strips of newspaper or paper towels and dip it in that. After, you apply those strips on your piece at least 2 or 3 times. My piece was successful by being able to create Bulbasaur as realistic as I could. One of the difficulties of my project included the body of the piece, because I forgot you could not put a solid piece of clay in the kiln. So, I had to carve a hole on the bottom of the sculpture and hollow the piece out.
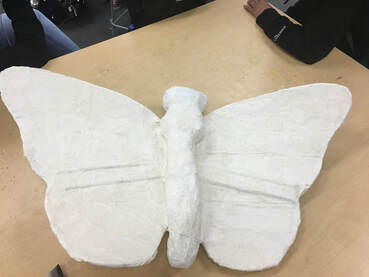
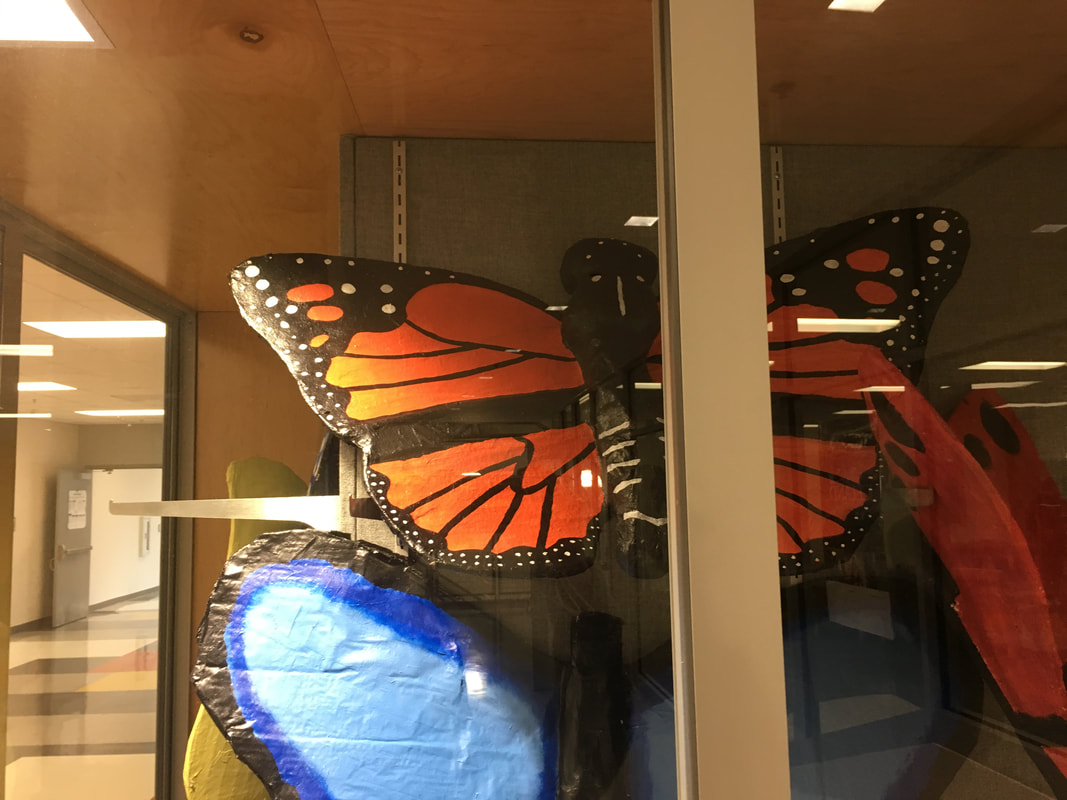
The parts I did of the butterfly was equally shared between my partner and I. We both painted and sculpted it with paper mache. Yasmeen was in my group to do the butterfly. The process of paper mache starts with taking piece of cardboard or any material and sculpting the shape of what you want to paper mache. Then you mix flour and water to create the solution to paper and mache, and you take piece of paper or towels and peel them into long strips. After, you dip those strips into the solution and add them onto your project around two or three times. The difficulties of the butterfly was the wings kept falling down when we tried to paper mache them to the body. The success we had was painting the butterfly very similarly to the monarch butterfly. It really resembles the butterfly we chose and wanted to do for this project. Installation art is when the art you create allows you to feel as though you are a part of the art itself.
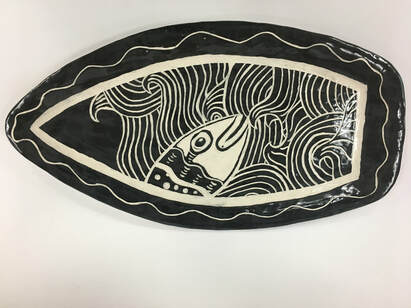 I got my idea for my sgraffito piece by looking at pictures on Pinterest and combining photos to create it. The process of this piece was rolling out a long piece of slab and placing it on a tray of the shape I wanted the piece to be. After, I cut off the edges so that the piece would fit onto the tray. Then I painted the slab with the black glaze and carved it when it dried. The piece was put into the kiln after, then glazed again with clear glaze, and finally put into the kiln again to be finished. The sgraffito process was easy until the carving. The carving was the hardest because you are scared to accidentally mess up the piece. The process ended up being successful by really taking my time to carve it and getting feedback from peers and the teacher for my design. I would change the design of the edges of the tray if I were to do it again.
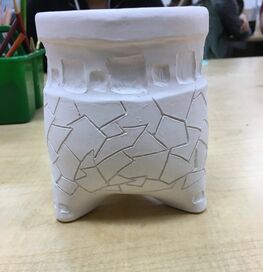
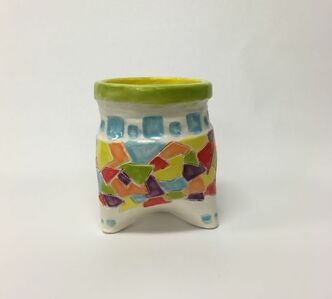
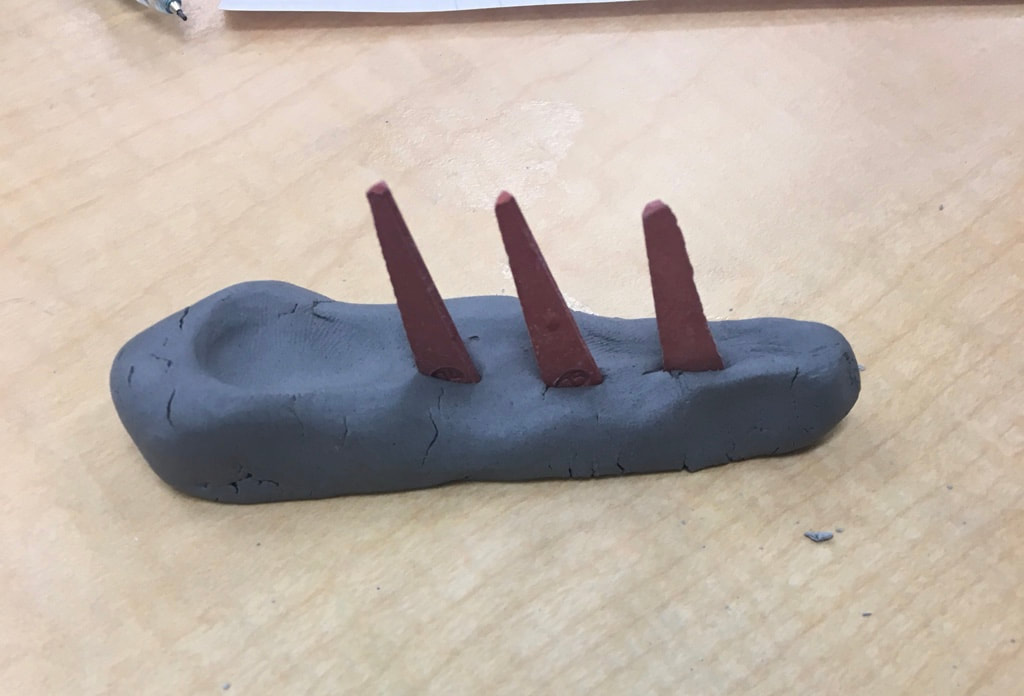
For my tripod cup, the process was to roll out a slab of clay and push the two sides together and slip and score. After you slip and score, you are to add in the legs of the cup by slowly pinching the bottom sides into each other until it forms three legs. Then, you slip and score the legs together and start to carve your piece how you want it to look. I found the pattern and design of my piece successful. If I were to redo my piece I would have not carved so deep where the white part meets the green top of the piece. Clay slab ia rolled out of flat piece of clay that is taken from a bulk of clay.
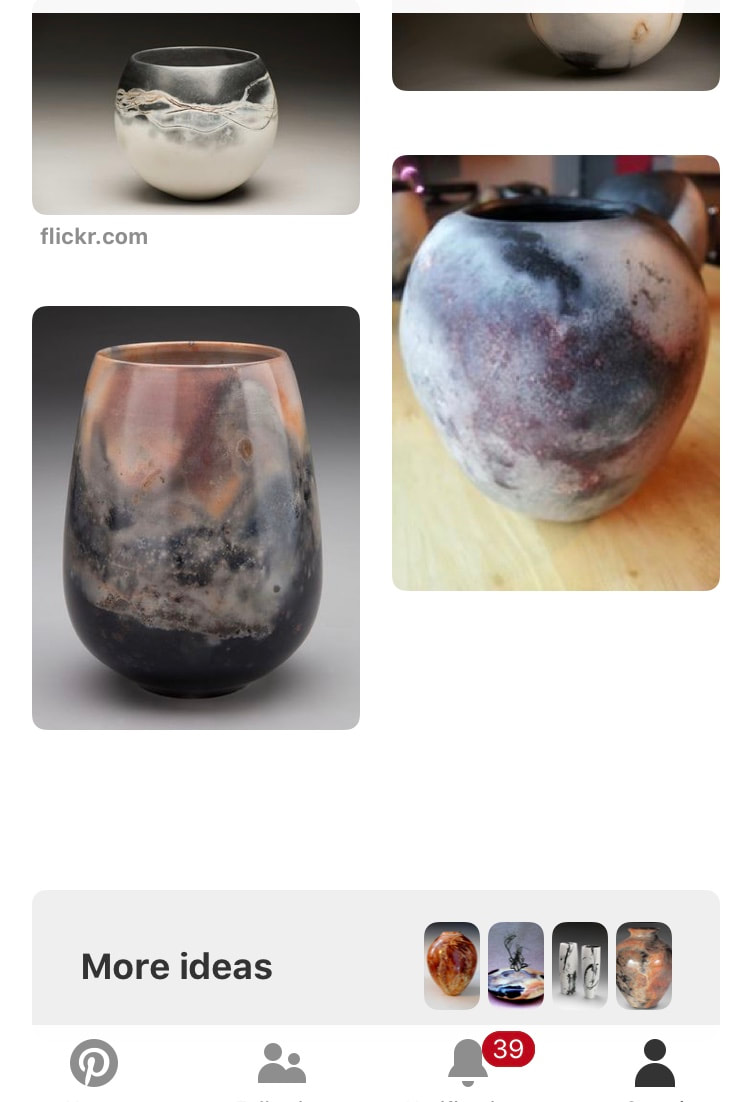
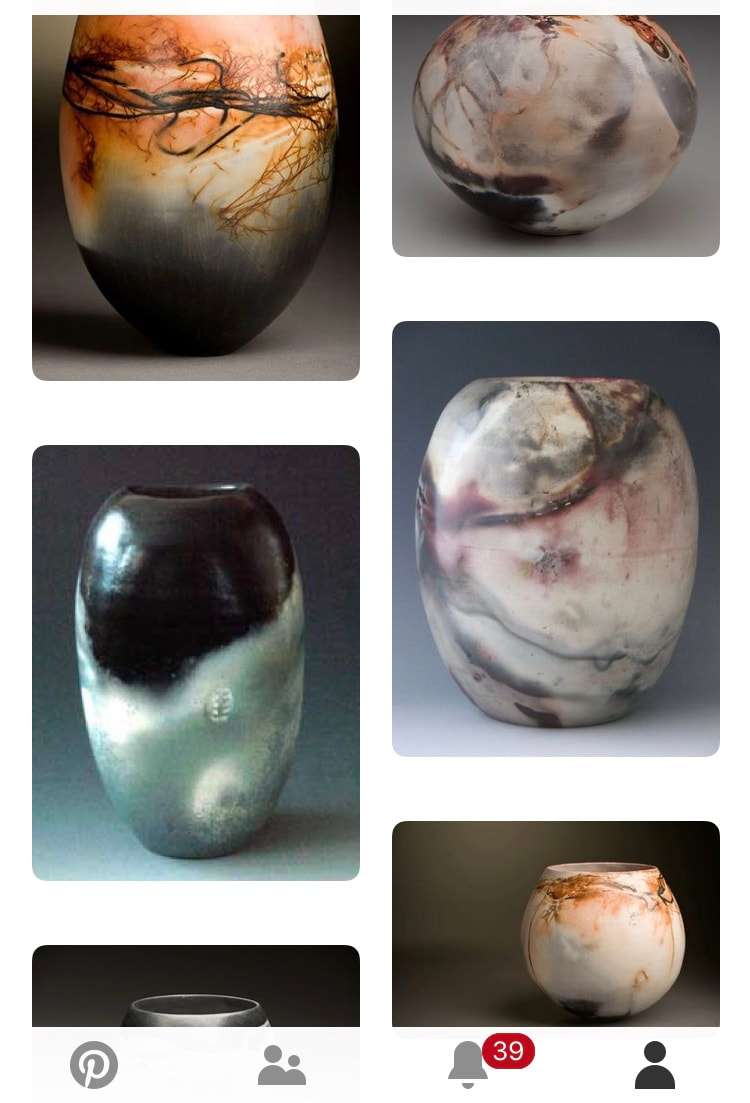
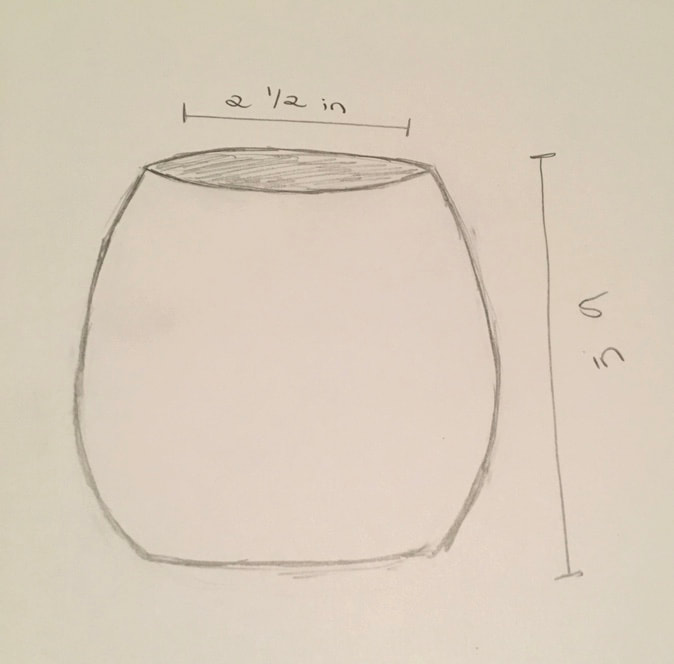
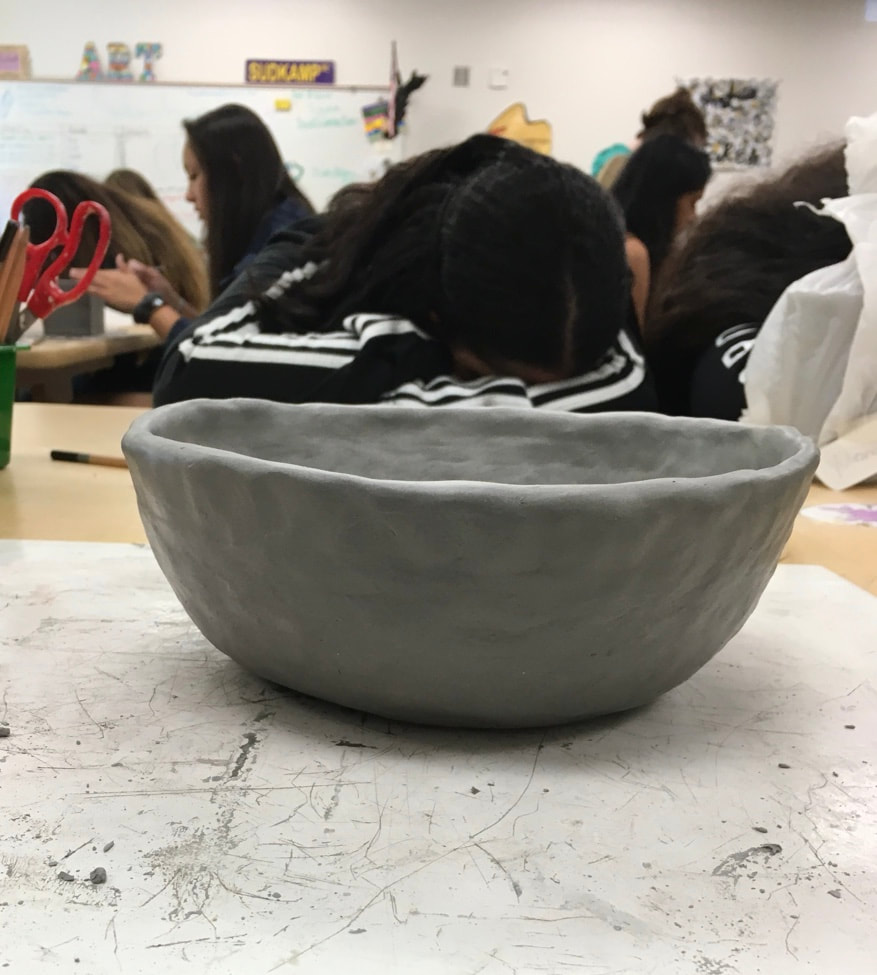 1. The process I have used to create my piece is coiling. For coiling you are to take pieces of clay and roll them out evenly- using the tips of your finger to the end of your palm- and placing them one on top of the other, smoothing the pieces out so they connect.
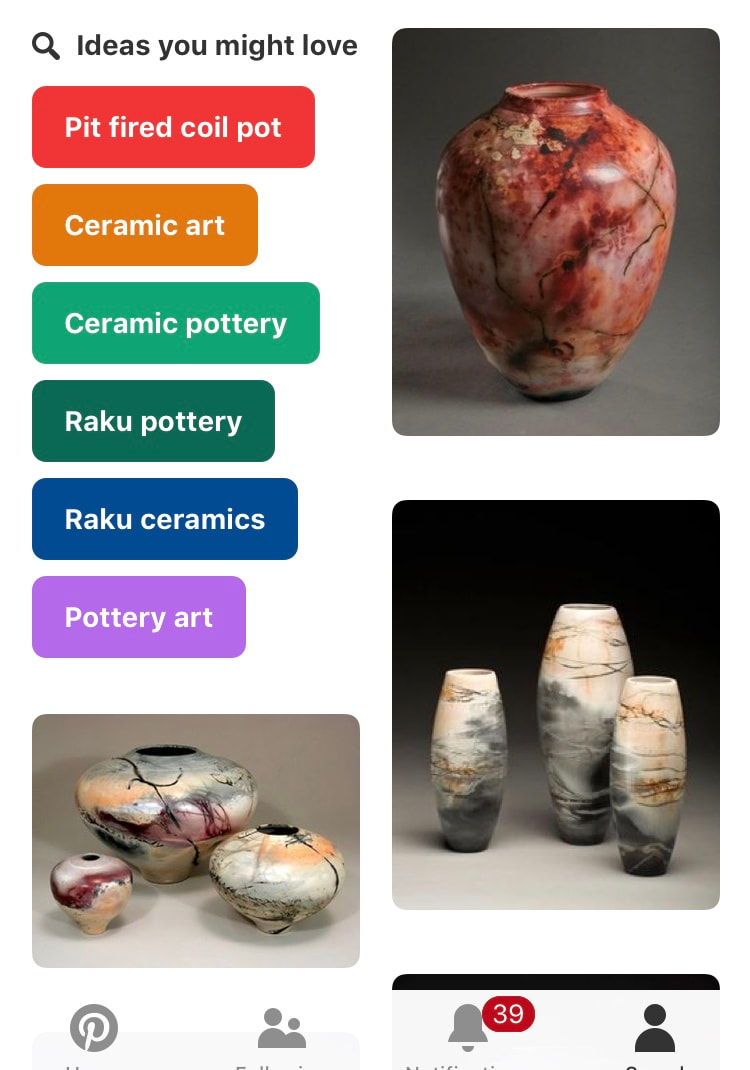
2. The difficulty that I have come across so far is making the sides go out farther than it should’ve, causing it to become a lot wider than I anticipated. Another difficulty is having the bottom of my piece start to crack from the weight of the top, so I had to use the what gun in order to keep it stable. Smoothing and layering the coils have been successful so far. 3. For my plan I want to try to go more straight up rather than out with my piece. My design has changed drastically with its size. I wanted my piece to be a lot smaller, but instead it turned out a lot larger. 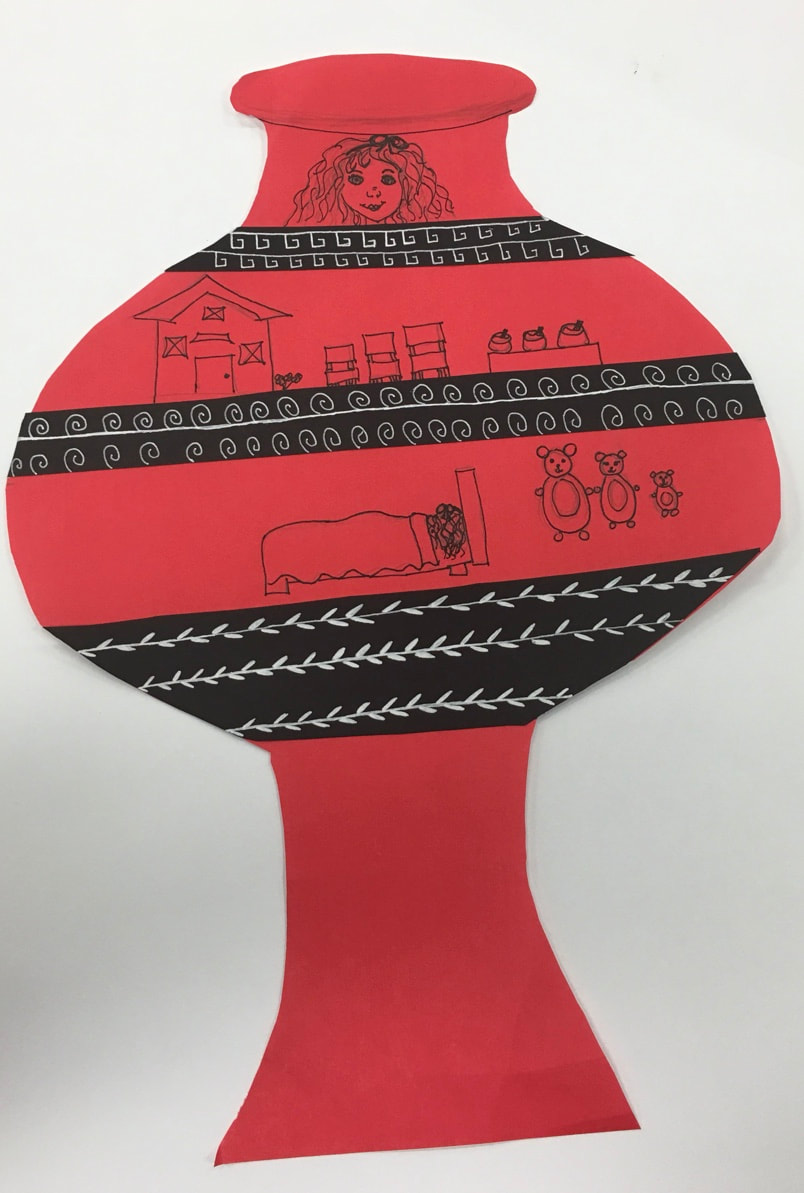 1. The vase my table and I chose for the sgraffito project was a Psykter. Back in the time these pots were used frequently, psykters were used for wine. They would fill it up with any wine and place the elongated bottom into a bowl of cold ice water.
2. On our sgraffito, we created the story of Goldilocks. As you can see the first image is Goldilocks, second image is the house she went into and the chairs she used, along with the bowls she ate out of. The last picture is when Goldilocks was found by the three bears sleeping in baby bear’s bed. The black stops used throughout the piece had classic Greek designs to speedster the story. 3. Sgraffito: a form of decoration made by scratching through a surface to reveal a lower layer of a contrasting color. Register: horizontal level of work that consists of several levels arranged on above the other, typically tells stories. The inspired artist I have chosen is the teamLab. The teamLab is an art collective group of ultratechnologists, and they work toward to navigate the connection of art, science, technology, and nature. The workers in the teamLab range from artist to programmers and mathematicians. Their locations are Singapore, Japan, and China. They work with technology and objects that are able to project a light or digital photo. Their work is inspiring to me because of how much detail and precision is put into their work, yet it looks as if it could easily be done. Also, I like how they add in nature and use objects to project or when they project light and digital photos or screening. The teamLab’s art draws me in with their technology and how they manipulate the art piece into looking as if what they created was completely real, such as the last photo on the bottom. In the last photo you can see how the waterfall and nature is represented and how real it looks with just using technology , images, and lights. 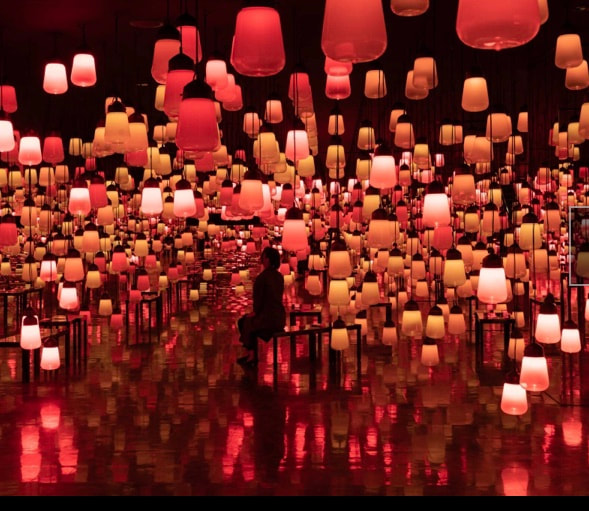 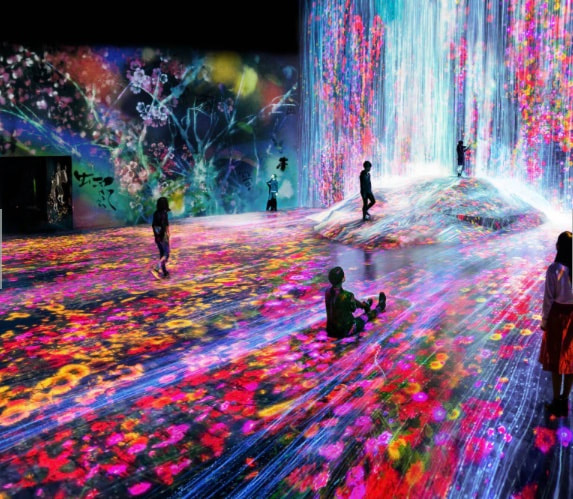 |